
Prototype Aquaponics System, IBC Tote Style
We finally got started!
| Part | Cost |
|---|---|
| Food Grade IBC Tote | $100 |
| Hydrofarm AAPW1000 Pump | $60 |
| Grow Media | $50 |
| PVC and Fittings | $30 |
| TOTAL | ~ $250 |
We have the shed about ready to host a system now, but before we build out a big multi-tank multi-tray system, we decided to build a classic IBC tote system to get some hands on experience with how it all works.
Building and operating an IBC tote aquaponics system has been very exhaustively covered on the web, so I’ll just add my particular tweaks.
Probably the best tidbit I have is a lead on a source for awesome low cost grow media. The two most popular types of media are expanded clay (hydroton) and expanded shale (sunleaves rocks). ‘Expanded’ means the substrate was run through a kiln hot enough to soften it. When it softens, trapped air and moisture pockets cause it to pop sort of like popcorn, leaving the rock porous and much less dense.
The bags of expanded stuff at the hydroponics shop are always fairly outrageously expensive, and river gravel is terribly heavy and has orders of magnitude less surface area for bacteria and water oxygenation.
One rarely mentioned fact is that in most parts of the world, expended rock is not really an exotic material. It is called ‘lightweight aggregate’ by concrete companies, and it is used as a lighter alternative to gravel in concrete for buildings taller than a couple of stories.

I called an aggregate company (LaFarge) and found that they produced expanded shale about 80 miles from my house. I got a heaping pickup truck load of it for $50 plus gas.
The only drawback is that the firing process leaves the gravel covered in a strongly alkaline dust. The gravel itself is ph neutral, mine has been stable for more than a month, but the dust has to be neutralized. I soaked the gravel in water with muriatic acid from the hardware store until the water stayed acidic for a day, then rinsed it in fresh water and added it to my grow tray.
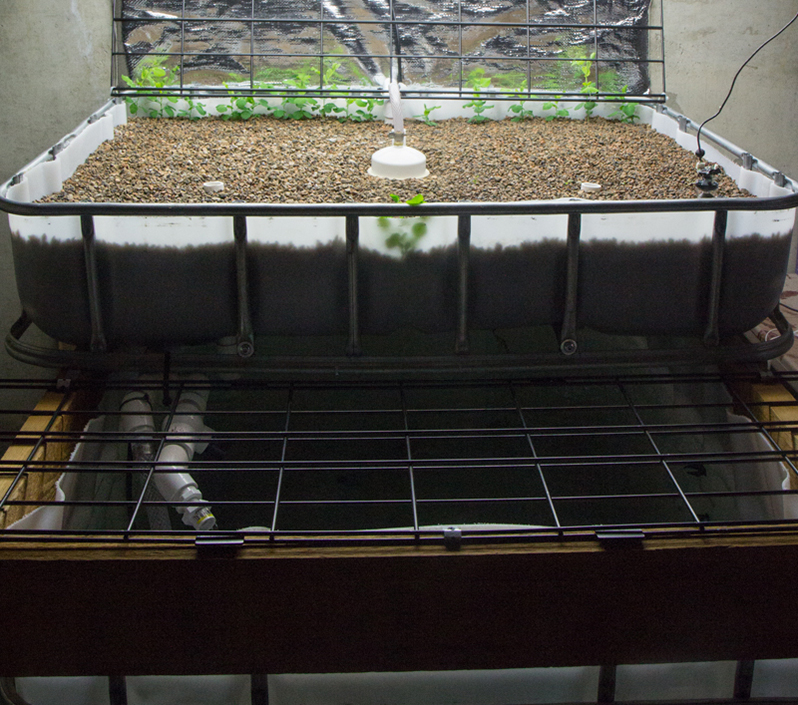
I have a little guy around and deep water can be pretty dangerous for those, so I wanted some kind of dependable cover for the tank opening. I had some plastic dipped wire grate and some rough sawn cedar timber in my pile of materials so I used them for a top ledge and a lid.
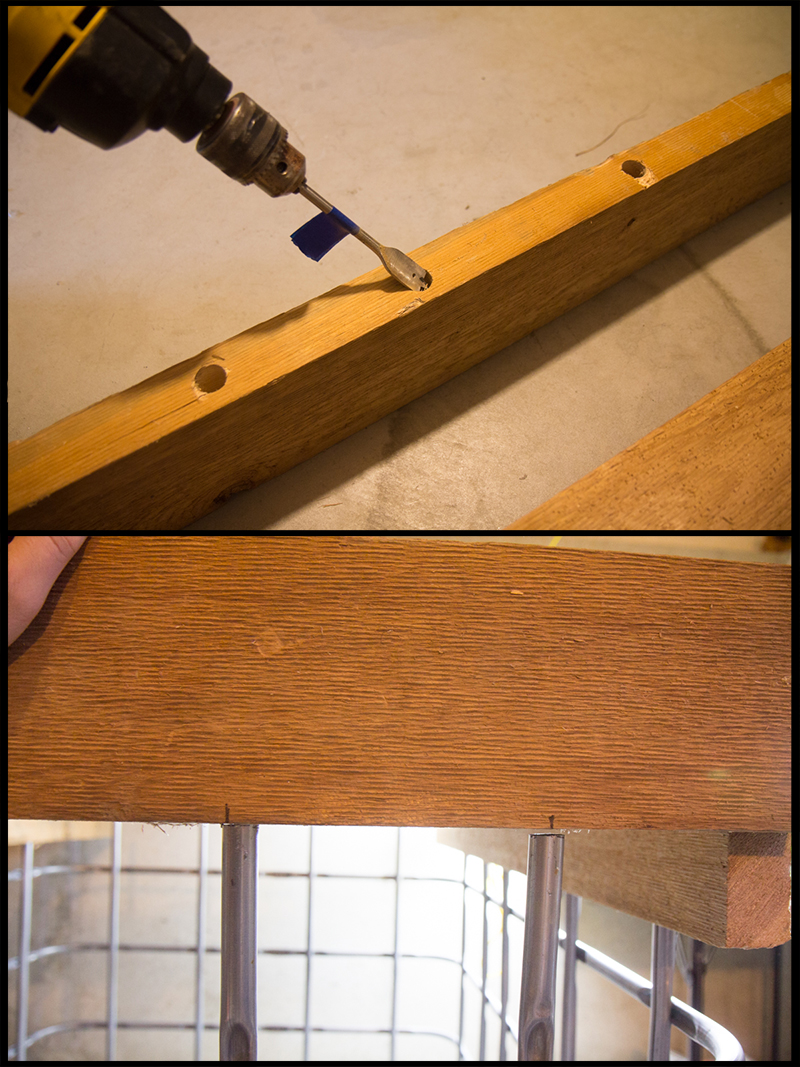
I marked a spade bit for depth with some tape, and drilled holes in the timbers so they would slide down over the vertical bars of the IBC cage. The wire mesh is attached to the wood ledge with hinges. Its strong enough for me to stand on, and open enough not to present any problems for water oxygenation.
Since this setup is going to run in my basement while I get a feel for it, I wanted some extra precautions against flooding. I added two extra overflow standpipes to the grow bed which you can see in the top image on either side of the siphon. They are cut shorter than the walls of the grow bed to give the water somewhere to go if the siphon were to clog or something.
More updates as the system gets cycled and we get some fish!
Leave a Reply