
Custom Hardwood & Stainless Othello, Chess Board
A Christmas gift for my baby sister.
A few weeks before Christmas, my sister was talking about how much she liked the game Othello, and about how hard it was to find a set that wasn’t made of blow molded plastic. So I decided to take a stab at making one!
While digging around, I learned that the game is more than a century old, and its real name is Reversi. When Mattel made a set, they sold it as Othello.
 The Discs
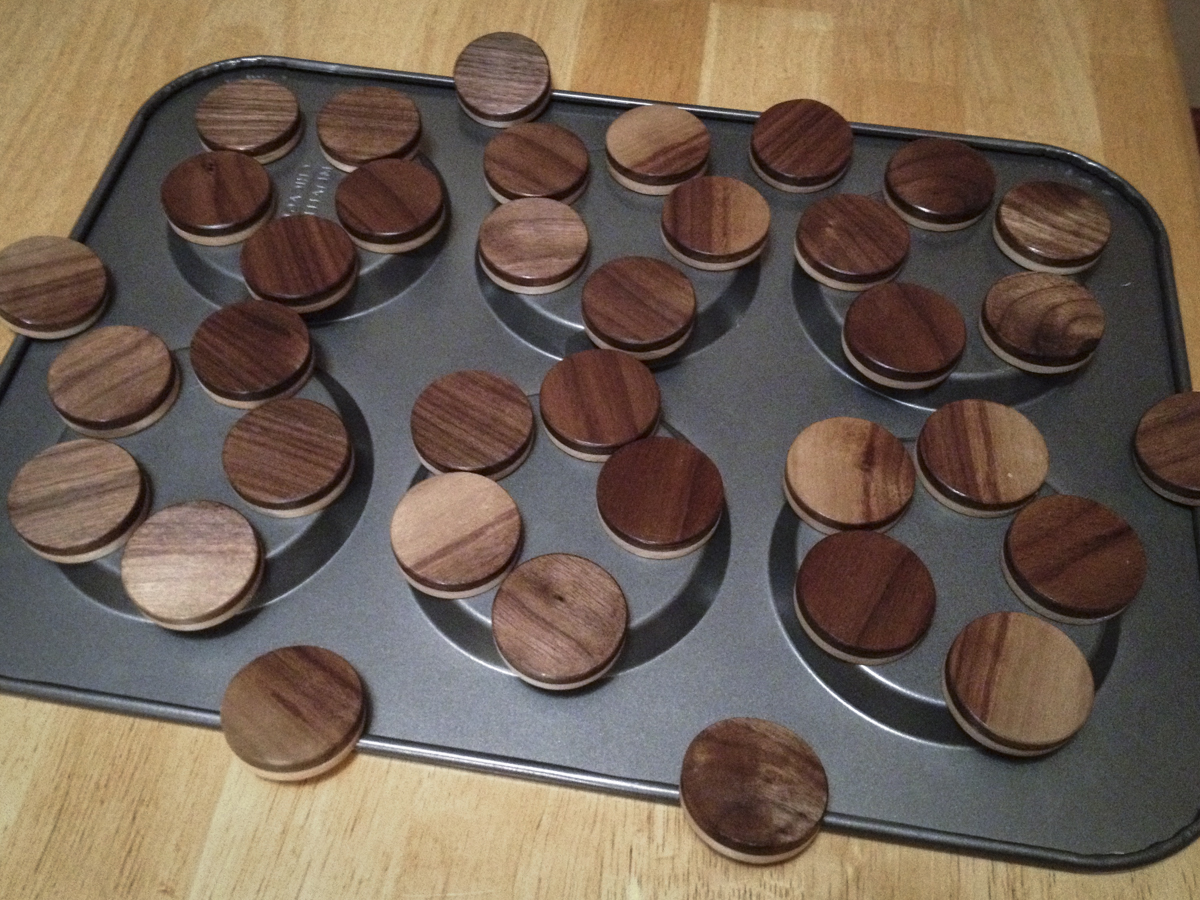
The game is played with black and white discs on an 8×8 grid of squares like chess and checkers. I wanted to make the discs out of wood, and I chose walnut and maple for black and white respectively. I also wanted them to have a little weight to them so they’d feel substantial in your hand. It occurred to me that putting neodymium disc super magnets in them would give them some weight and make them stack and snap to the board nicely.
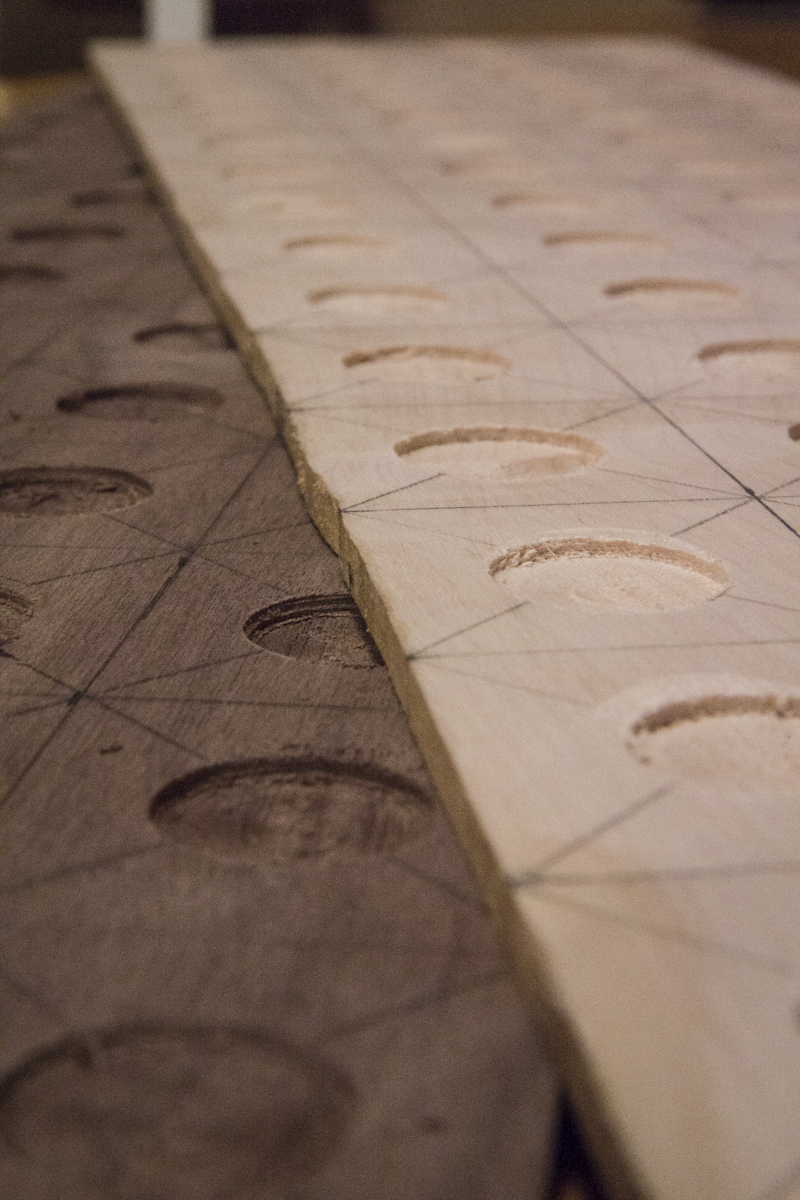 Before glueing the sheets together, I shaved matching hollows out of them on the insides and glued the magnets in. I had to glue and clamp the magnets in two passes of alternating spaces so that they wouldn’t jump up, snap over, and cling to the magnet next to them. I just worked my way across the sheet with spring clamps to hold them while the glue dried, then went back and did the other alternating squares.
I learned the hard way that hot glue is hot enough to demagnetize neodymium magnets. You might get away with it, or you might not. I went with premium wood glue. I had to make sure the magnets were all facing the same way so that the discs would make a nice stack, all black to white. They also needed to be as perfectly centered as I could manage, so that the stacked chips would make a nice cylinder.
 I marked grids on both sides of both sheets to make sure the hollows would line up and I would know where to drill.
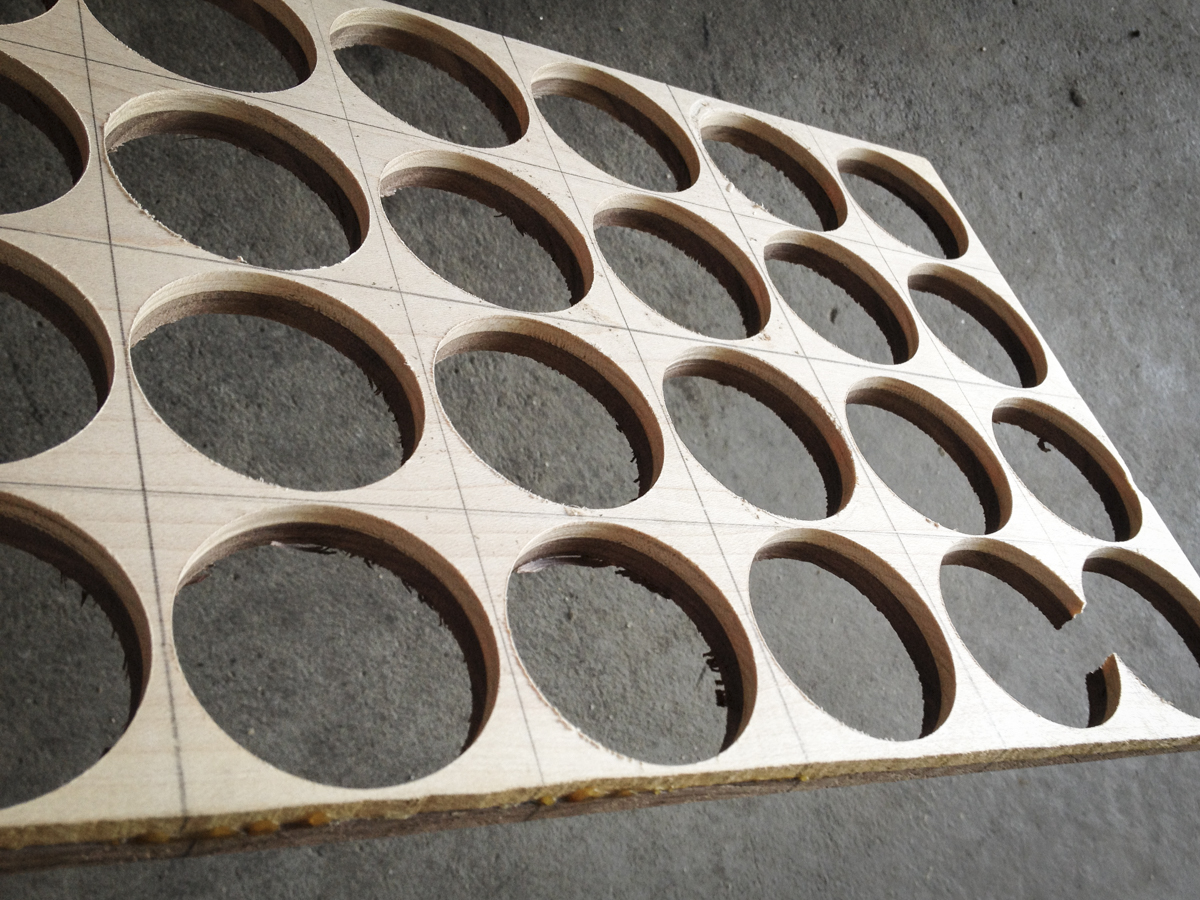
After glueing and clamping the halves together for a day, I drilled the chips out with a hole saw in the drill press. I obviously had to take the mandril out of the hole saw, so I had to clamp the sheet of discs to the platform so they wouldn’t jump around.
 I spent a couple of hours at the belt sander cleaning up the discs, then did 4 rounds of Tung oil, dry for a day, polish with 0000 steel wool, wipe down with anti static cloth, repeat.
 I wish I were better at finish work with wood, I still felt like they lacked the super polished master craftsman sheen and beauty that I wanted. Maybe I should have tried a more foolproof finish like rub on poly. Oh well. They were definitely better than blow molded plastic!
The Board
I started with a nice big sheet of pre-made glue lam butcher block. I like the alternating laminated grain pattern. Though I planned on painting it with a shiny black enamel, I wanted the grain to have a nice texture to it. The glue lam provided a nice sturdy flat base with more character than ply or mdf.
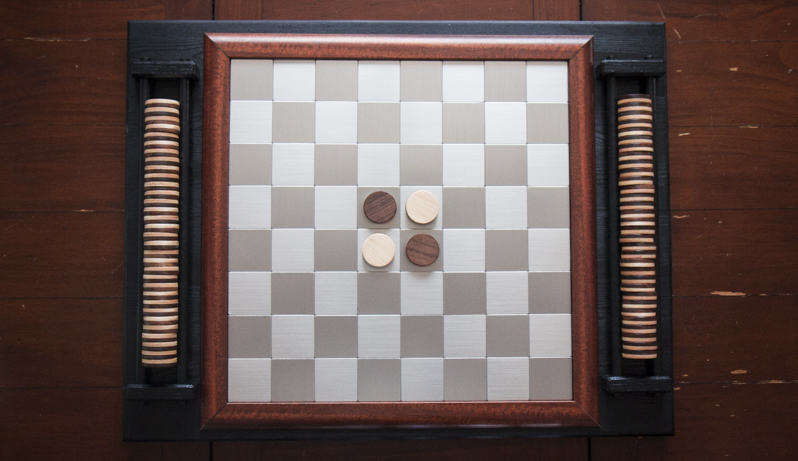
 I wanted a stainless play field, and I happened to find these perfect stainless kitchen tile sets that had an alternating brushed pattern to them. The only thing they lacked was ferrous metal for the discs to stick to. I used contact cement to glue some galvanized flashing down to the base board before glueing the tiles on. The tiles were thin enough, and the magnets strong enough, that the chips snapped down nicely right through them.
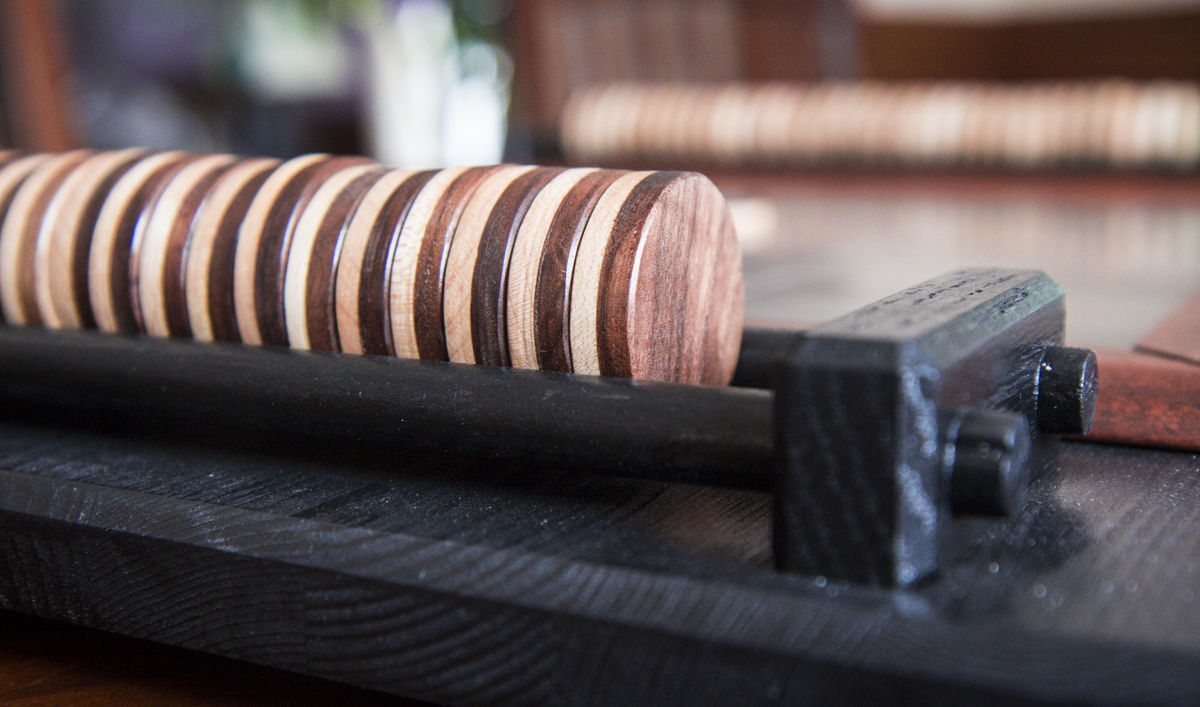
I made some little storage racks on either side of the board with dowels and a couple of scraps of oak. I drilled through the oak and mitered off the edges, then pushed the dowels out through either end a bit for extra character. I screwed up through the board in to the end pieces and it all locked down perfectly.
Some paint, cherry trim around the tiles, and some hearty rubber feet and it was done!
Final Thoughts
If I had it to do again, I might skip the magnets. They were a lot of extra work, and I am not sure I am totally sold on the sticking down and together thing. I’ll have to check with her and see how they are working out.
I love that the board will work for Checkers, Chess, and other games as well. I plan to make a set of red and black discs for checkers at least. Bloodwood would be gorgeous, and I’d use so little of it that I wouldn’t need a second mortgage to pull it off. I’ll also have an eye out for fun ideas for chess pieces that could be a good fit.
I also think it could be really cool to add sides and a new base under current board. Maybe make it 3 or 4 inches tall with little storage drawers for game pieces. Maybe one day!
Leave a Reply