
Parabolic Projection Screen
A very cheap, very high performance home theater screen.
A 20 year old CRT projector still handily outperforms the newest and most expensive home theater projectors in several areas. They have incredible black levels and shadow detail as well as fantastic color reproduction, and the very silkiest imaging and movement. One thing they lack big time: Brightness.
A CRT projector still requires a light controlled room and a high gain (more directly reflective or shiny) screen to really look amazing.
One of the problems with high gain screens is that they increase hot-spotting. Hot spotting is very easy to identify when you see it, but it is a little bit tough to explain.
There is a little more to it than this, but you can imagine projecting on a flat painted white wall vs projecting on a mirror.
When projecting on the wall, you get an evenly lit screen and no visible reflection of the projector, because the light is evenly and thoroughly scattered throughout the room by the wall. The image is less bright because the light scatters everywhere, much of it is wasted on lighting up the walls and floor and stuff.
On the other hand, when projecting on the mirror, your eyes get a FAR brighter light from the screen since no light is scattered around the room and wasted, it is all reflected directly to you. The problem, of course, is that you only get that light from one spot: The middle of the reflection of the projector in the mirror, with it’s lens blazing away at you. The edges of the mirror screen are just a reflection of the dark wall behind the projector. Not that you can see them because the reflection of the projection lens is blinding you.
So, we try to build a screen somewhere in the middle. A little extra direct reflectivity to make the image brighter because rather than scatter all of the light, we reflect some of it at the viewer. But we can’t go so far that the more direct reflections of the projection lens cause too strong a reflection of the projector. And certainly not so far that we see are blinded by the lens being directly reflected at us.
In summary, the less the screen scatters light, the less is wasted by being scattered around the room, but, the more of it that is reflected directly at viewers, which approaches a mirror reflection of the projection lens instead of a projected image.
The problem is somewhat compounded with CRT projectors. Because they are less bright we want a more reflective screen. But, they have not one, but three separate light sources to produce three separate hot spots, one for each color, and one of each color. This means they tend to produce subtle blooms of red, green, and blue color casting across the screen on higher gain screens.
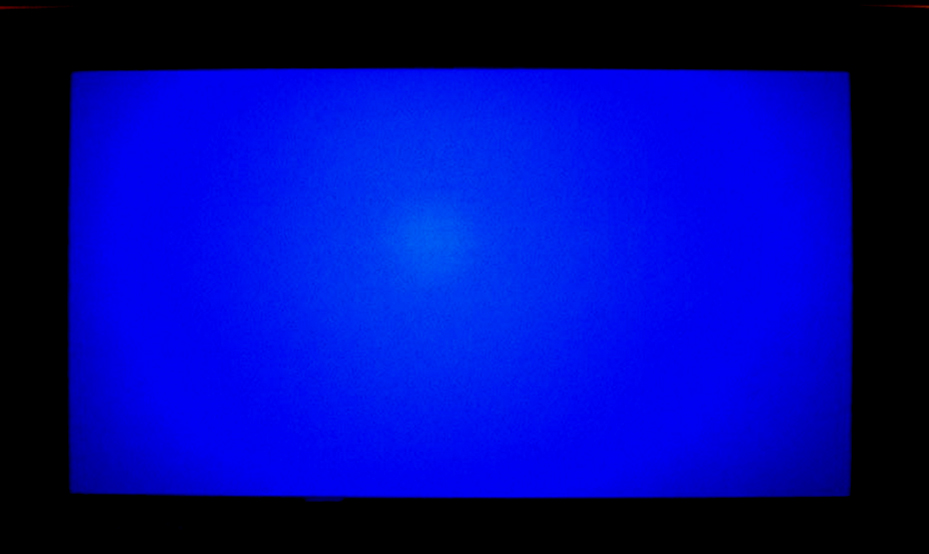
Ok, so that is hot spotting. And the area around the hot spot, where the screen is darker is called the falloff.
And now we come to what makes this screen cool. By building the screen with a parabolic curve that is focused on the viewers, we spread the hot spot across the whole surface of the screen. We get the brightness benefit of the higher gain screen, without the drawback of the hot spotting and falloff. Awesome.
The only catch is that it makes the falloff much worse if you are not in the focus area of the parabola of the screen. Fortunately, with a small home theater the seating area is pretty small, so we do just fine.
So that was a lot of explaining, lets move on to the building.
I poured over some forums and found that there was a guy who did a ton of materials testing and found that Designer White formaica countertop made by Wilsonart had outstanding characteristics as a projection screen. I was delighted to hear that because it is also cheap, easy to work with, and indestructible. I found a local distributor that got me a 5×9 sheet for less than $100.
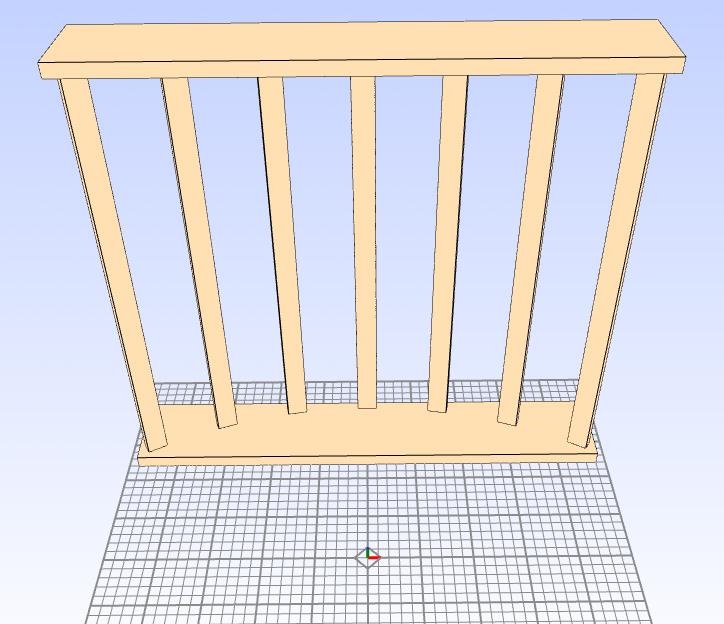
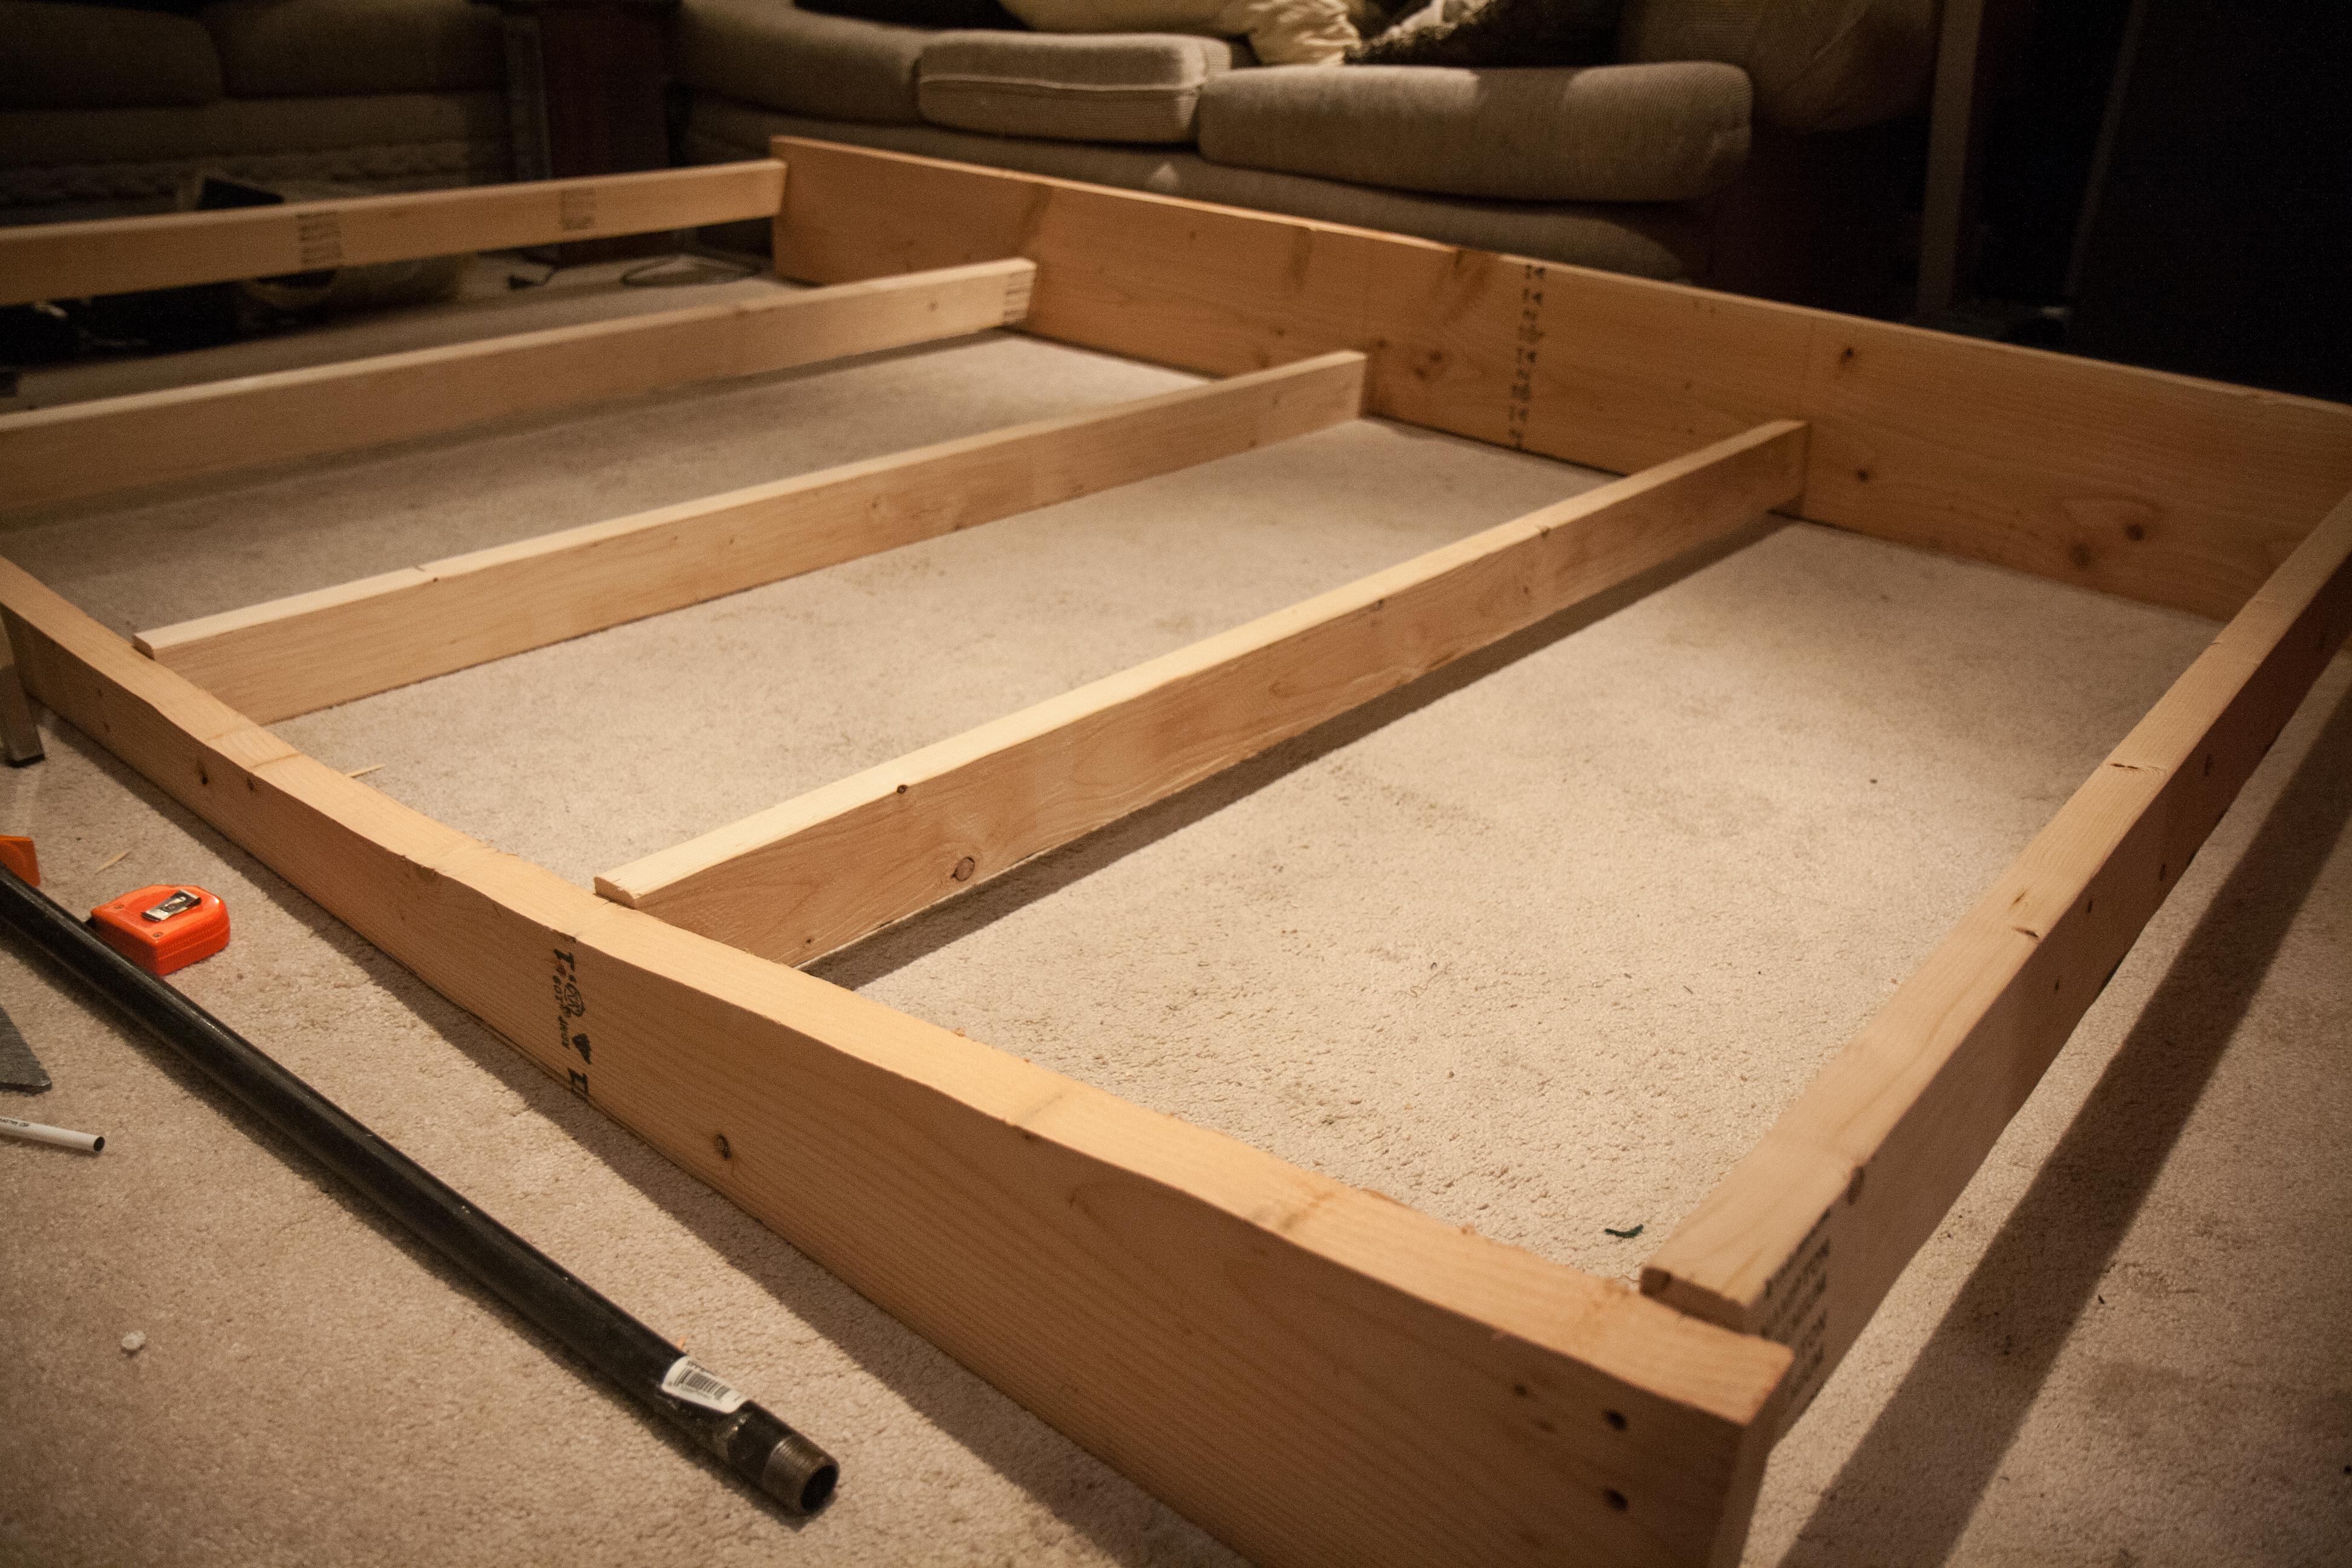
I wanted a sort of huge flatscreen tv kind of look, so planned for a wide rectangular base, and floating edges the rest of the way around. I calculated out the parabola I needed and marked it out on my 2×12 base. Then marked out the same curve on a top beam. I didn’t want my inevitably ugly jigsaw cut to interfere with a smooth curve of the screen, so I cut back a little bit from my mark so that only the uprights would touch the screen panel.
I screwed my uprights in, top and bottom, and made sure they fit the tangent of my screen curve.
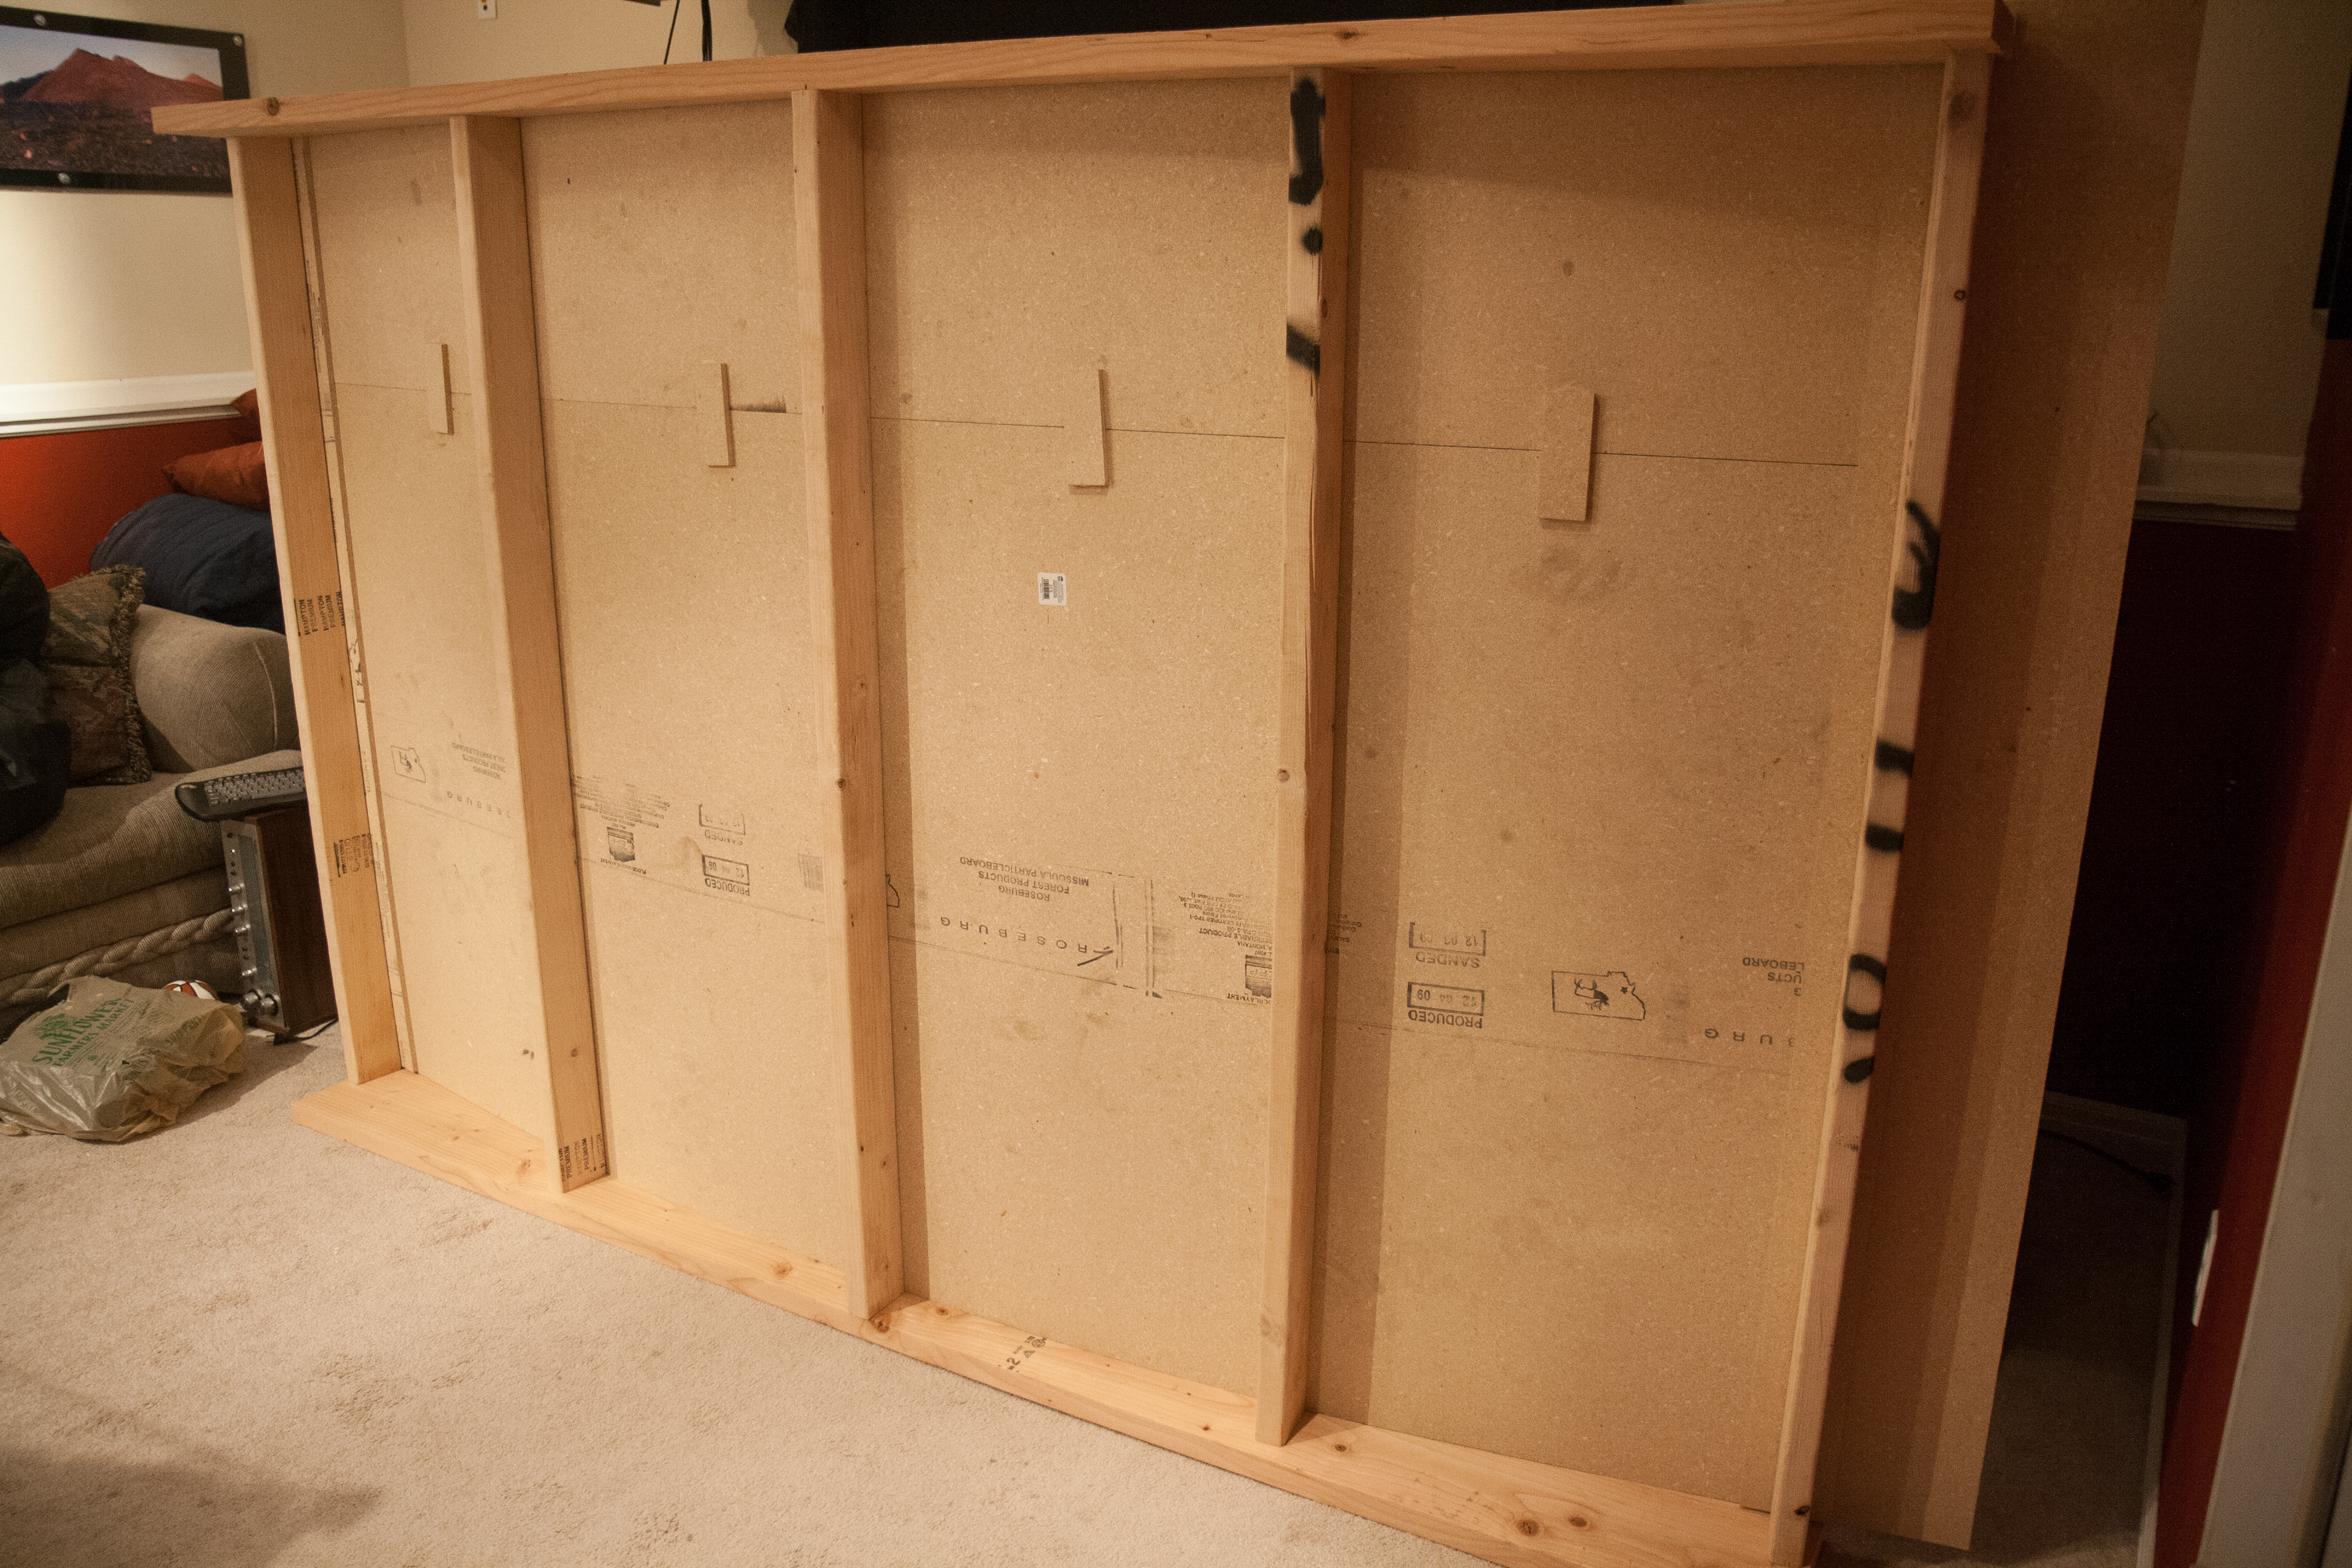
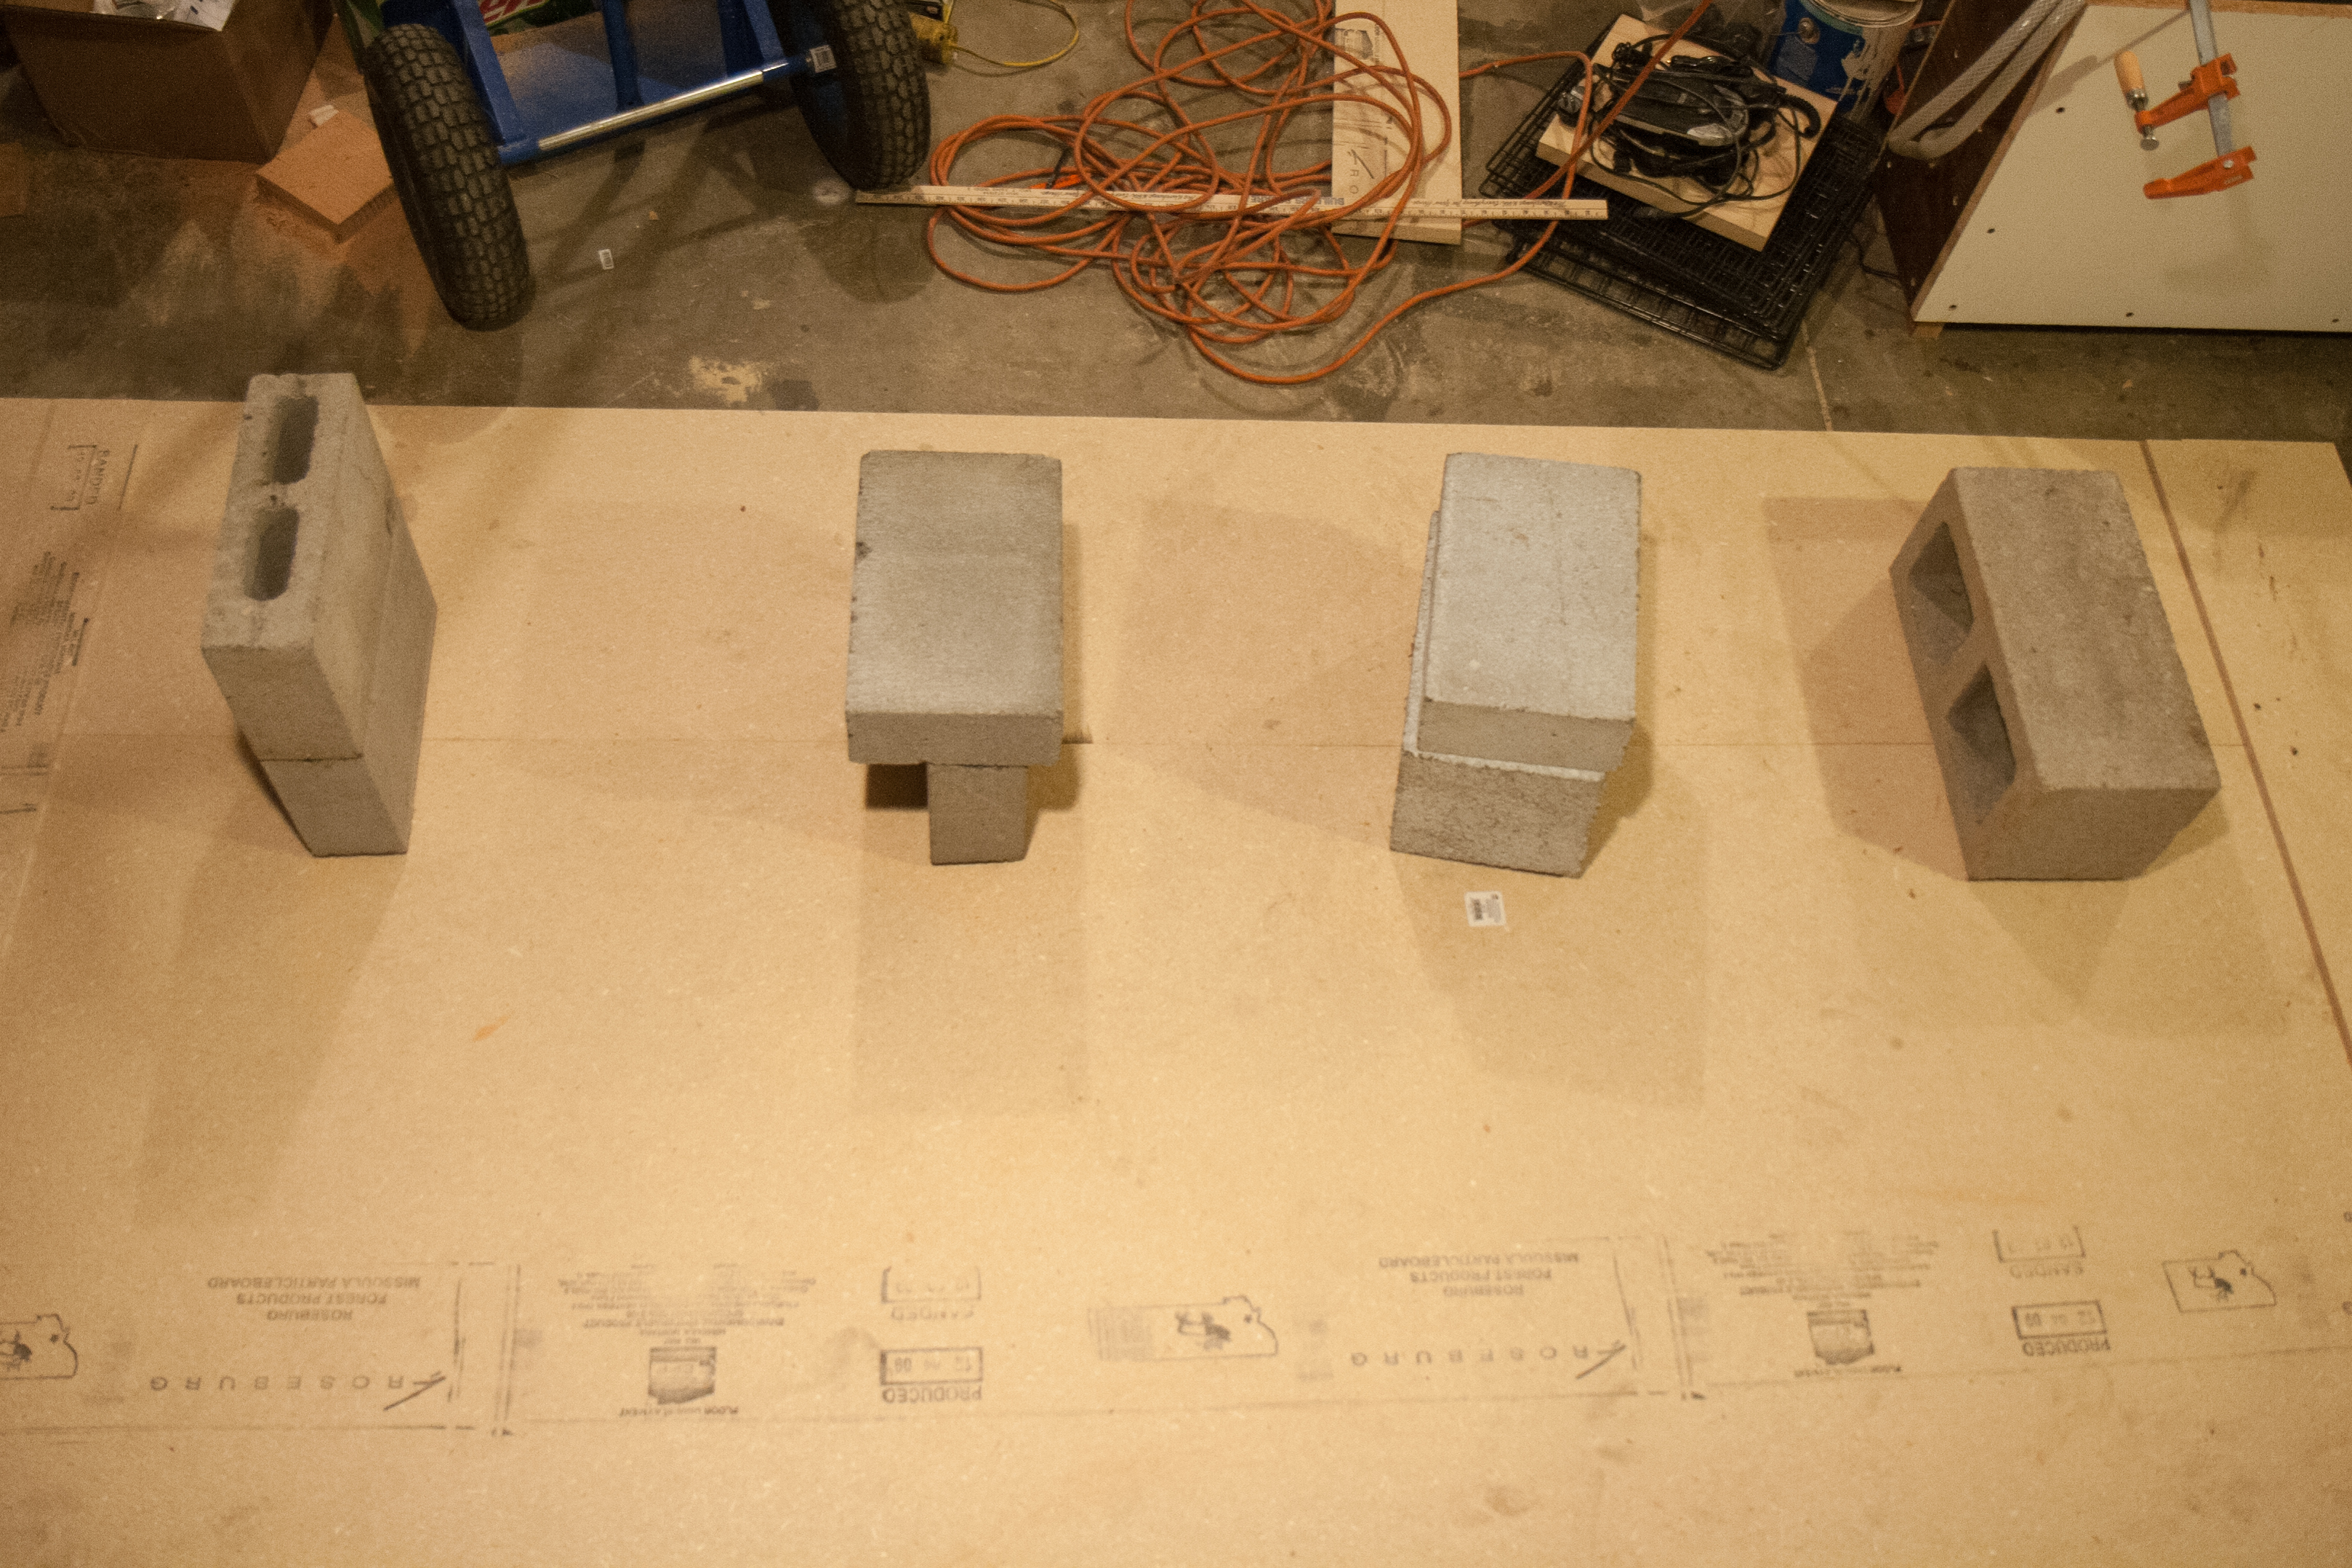
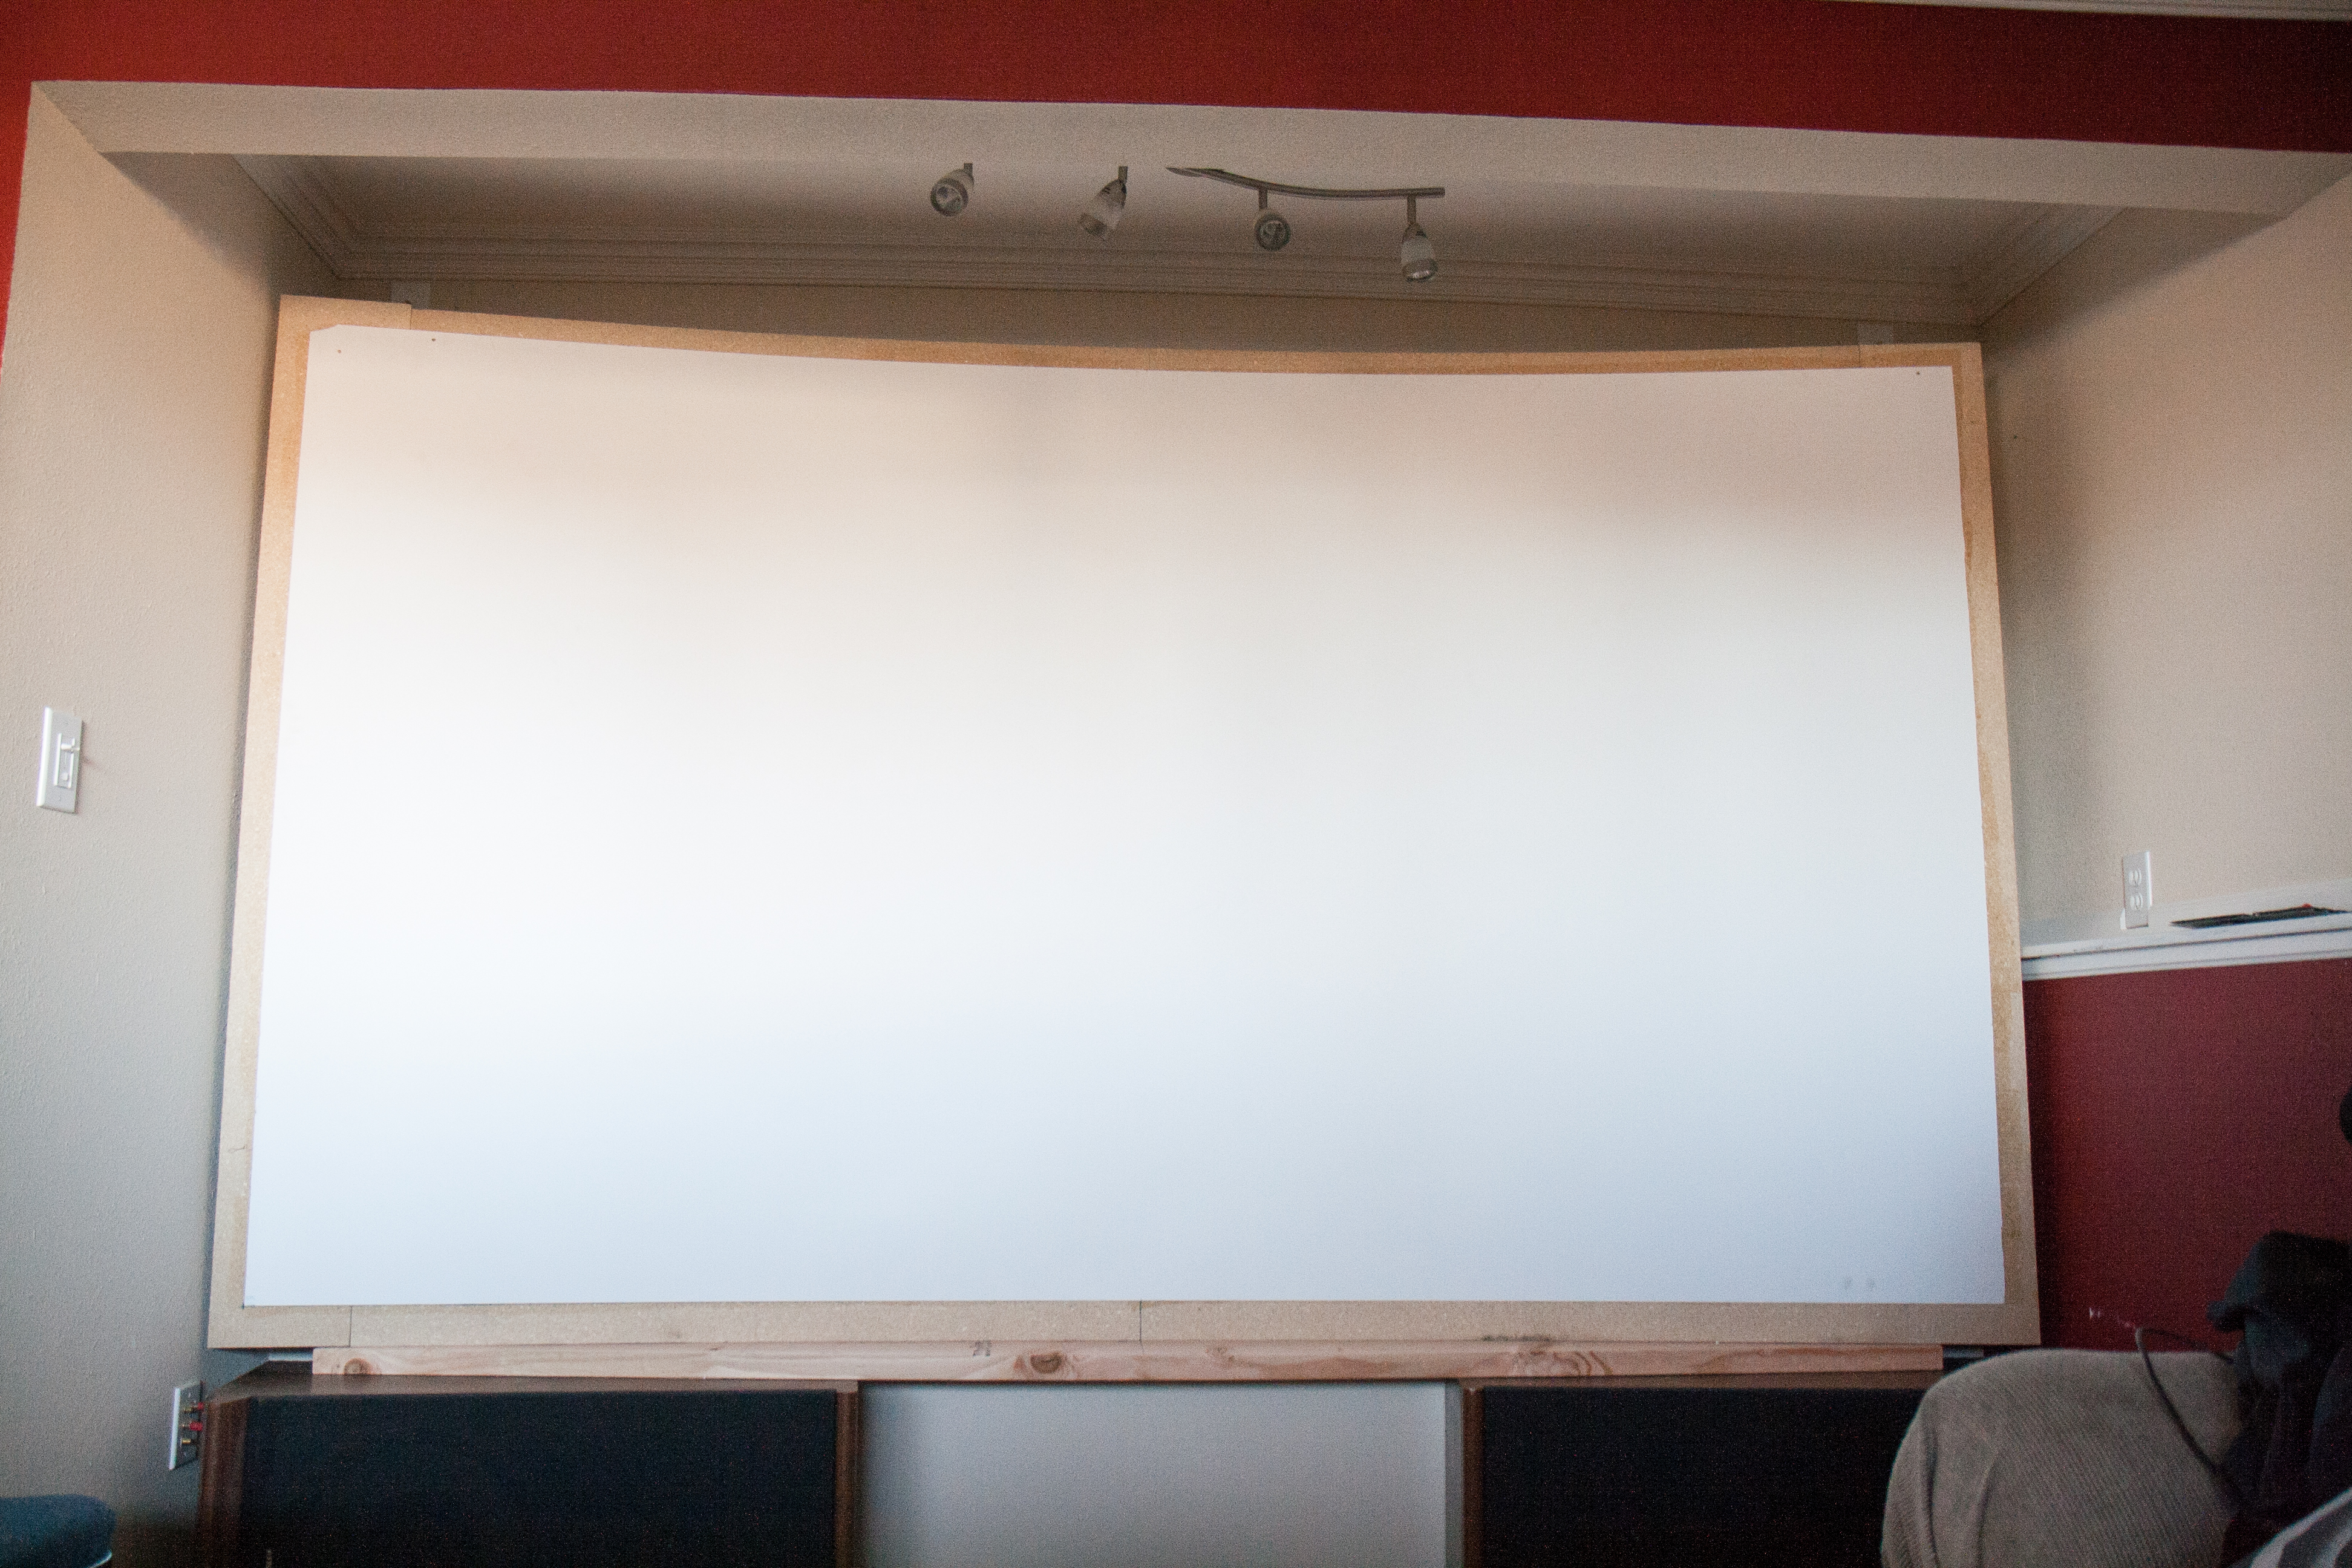
I decided to use 3/8 MDF as the screen backer. Stiff enough to be tough and hold its shape, but flexible enough to push in to a curve. Since my screen area was supposed to be 5’x9′, but I could only get MDF in 4’x8′ sheets, I had to splice two sheets. I planned the splices to be around the edges in case they showed through the formica (it turned out they didn’t). 3/8 MDF would never have held screws, so I made little mdf tabs and glued and weighted them overnight. Once they were dry, I laid the panel over the frame, stepped down on to the middle to force it in to the curve, and countersunk and screwed the panel back to the uprights.
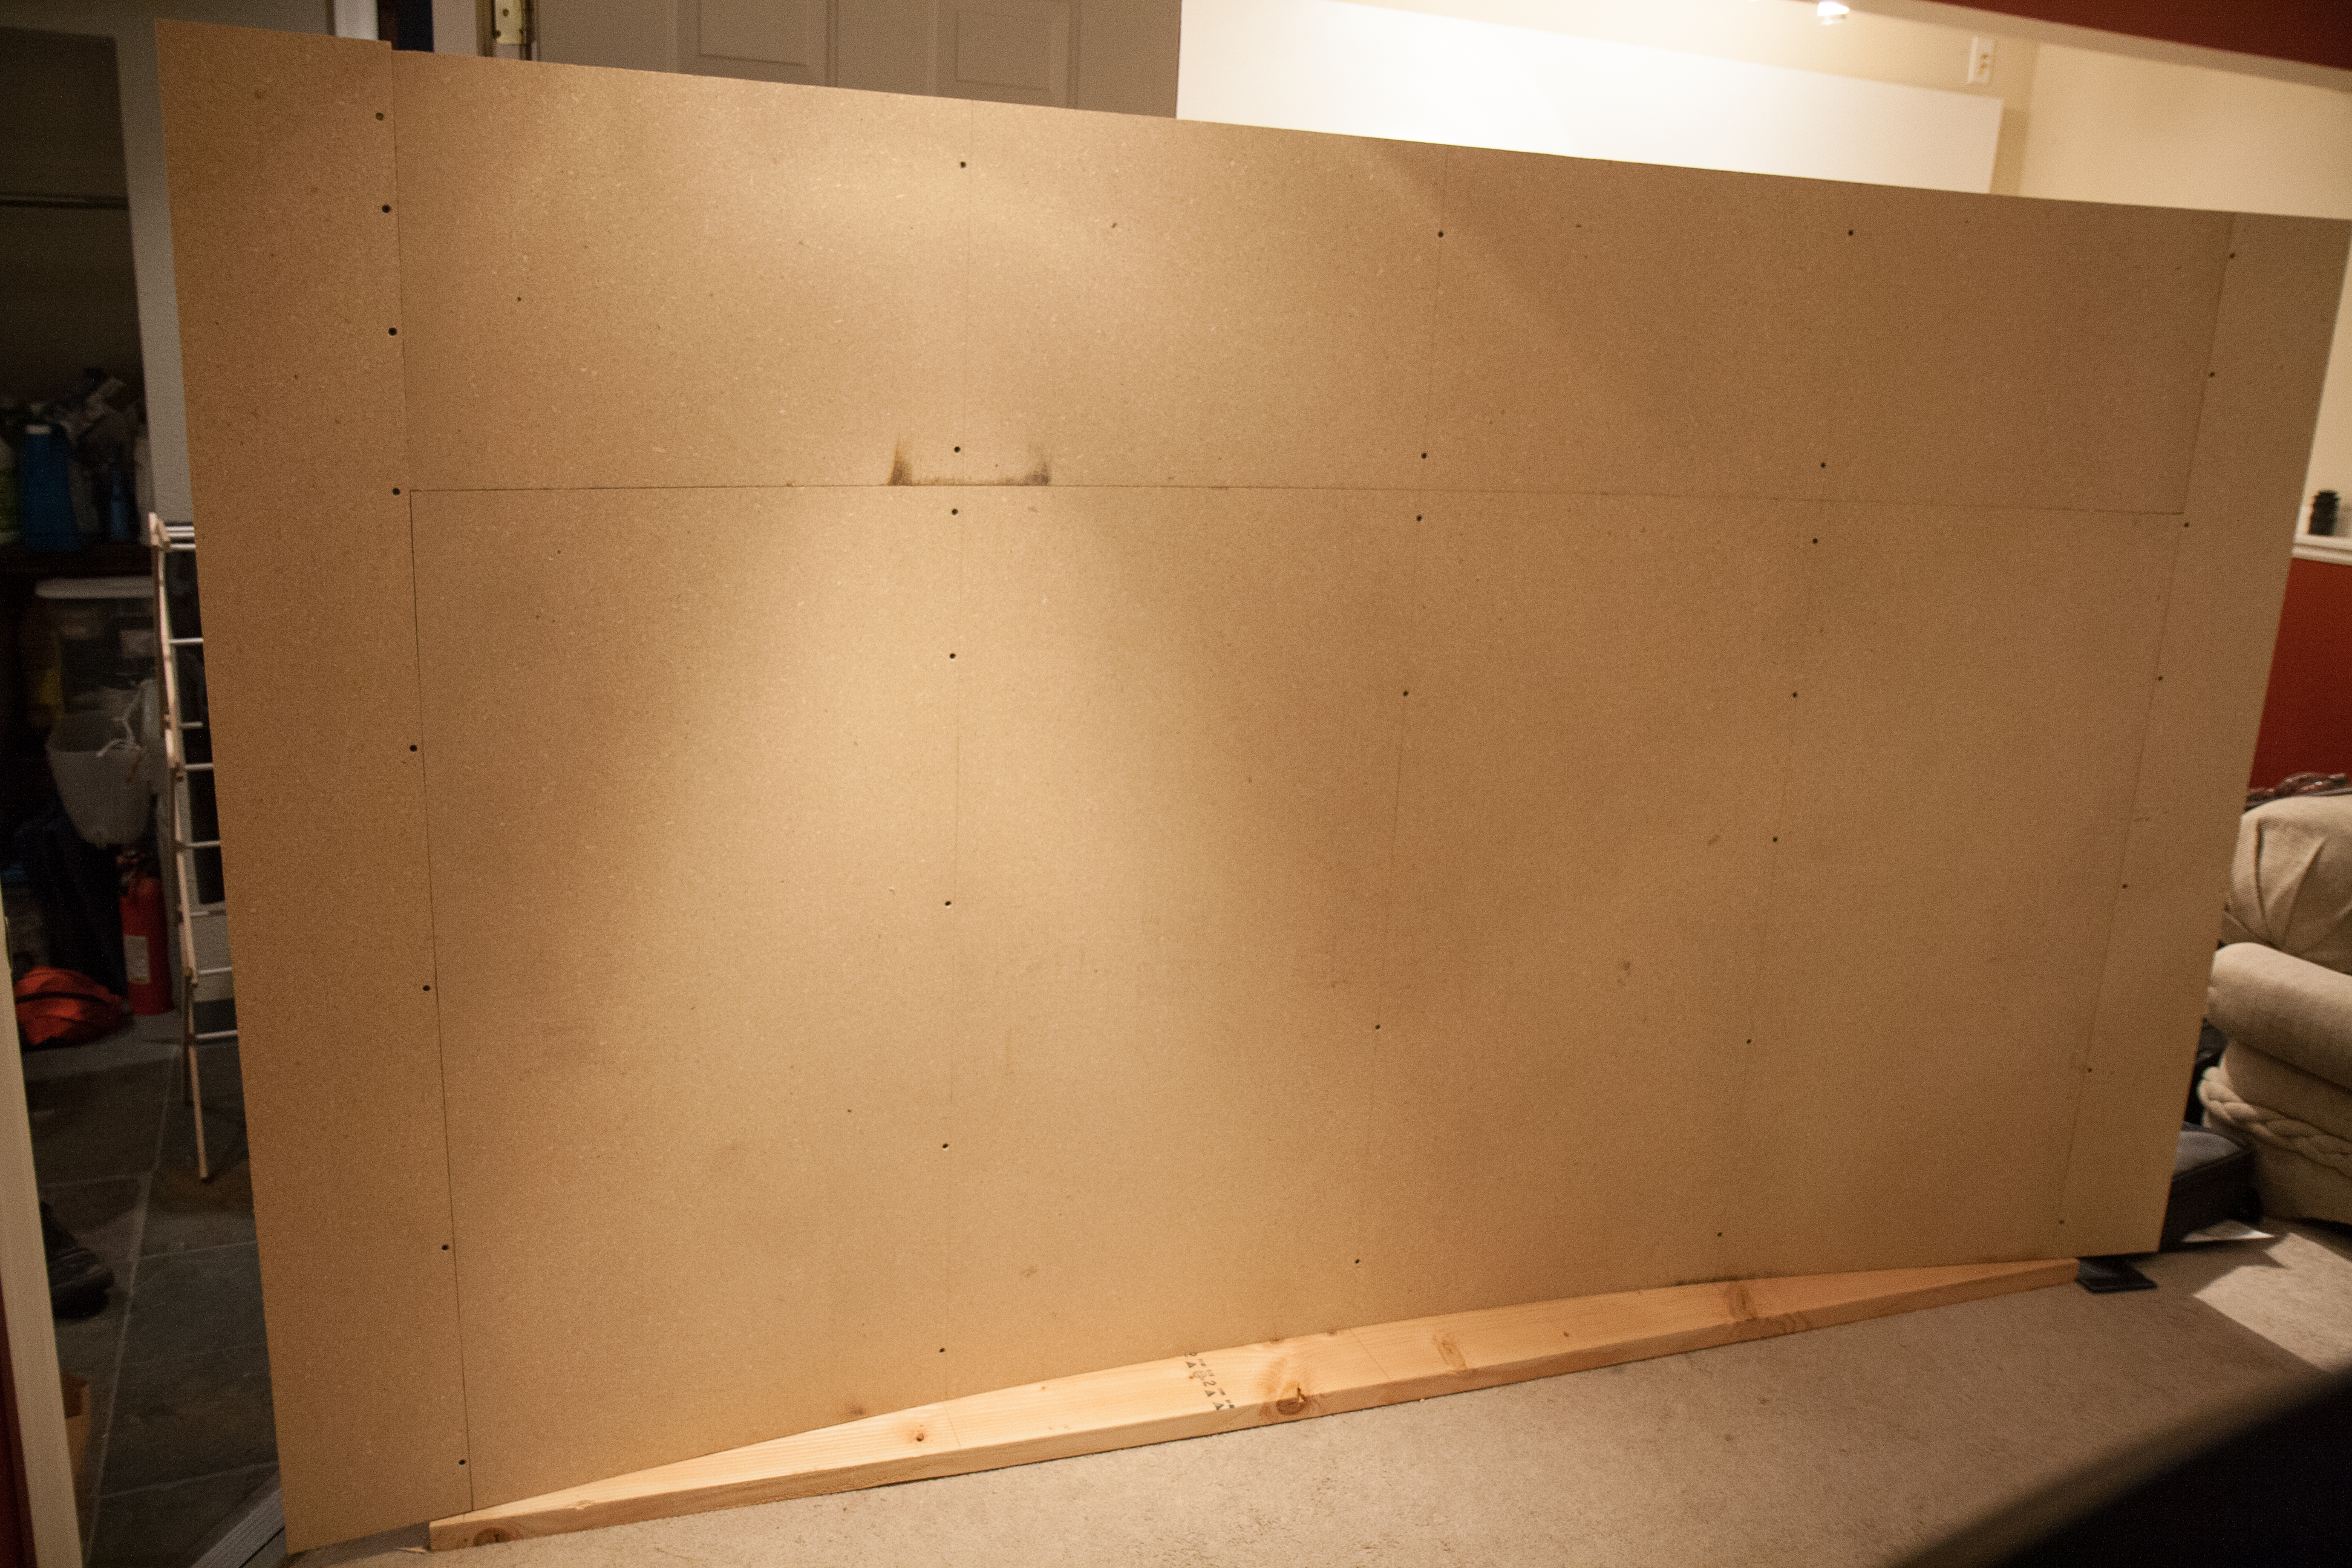
It worked perfectly.
Next I used contact cement to glue on the formica, exactly like you would on a countertop.
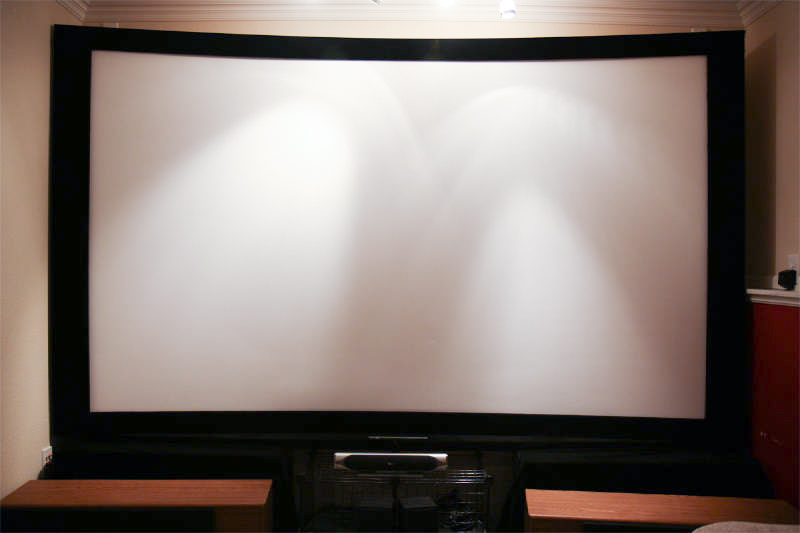
For the boarder, I wrapped rectangular 3″ MDF trim with triple black velvet and tacked it on to the screen with a few screws. And thats it! It turned out beautifully, and it looks fantastic!
Leave a Reply